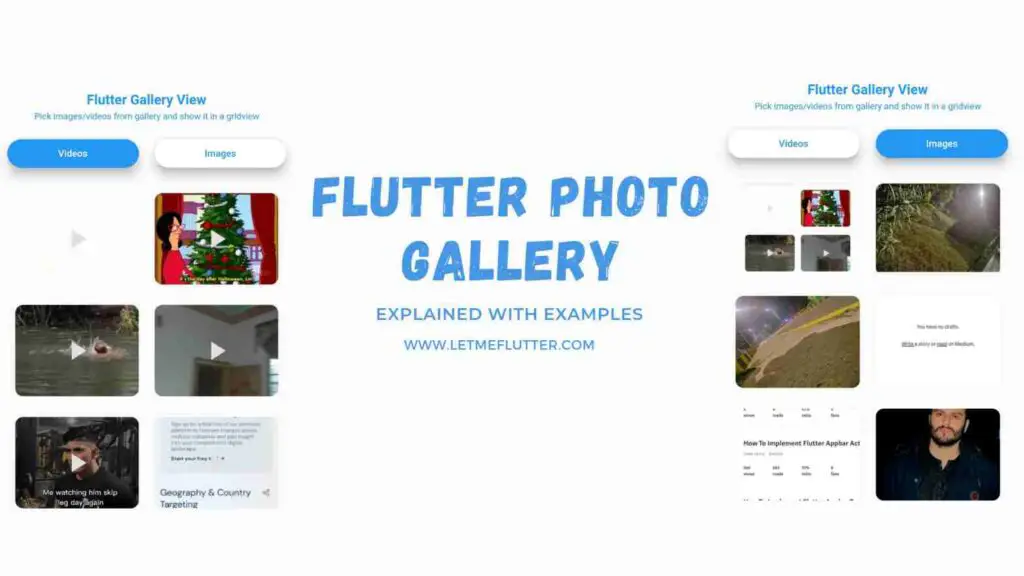
In this tutorial, we’ll learn how to show media(photo/video) in Flutter app using Flutter photo gallery package. We’ll be using a practical Flutter code example to better understand how it can be implemented.
Introduction: Flutter Photo Gallery View
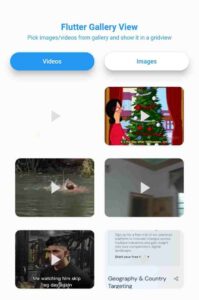
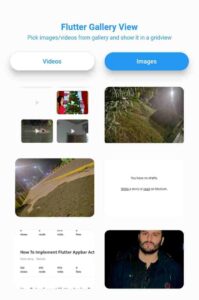
It specifies taking the gallery media from phone and showing it in an app. In our example, we’ll show the fetched media inside a grid view. We’ll also create two material buttons. First button will be used to show only videos while second one will be used to show only images.
So let’s jump right into its practical step by step implementation.
Implementing Flutter Photo Gallery View (Step By Step)
Follow below steps to completely understand how to fetch and show gallery media in Flutter app.
Step 1: Import Packages
We need to import three packages in our project’s pubspec.yaml file to fetch and show media.
These two packages are required to fetch media from gallery.
  photo_gallery: ^1.1.1
  permission_handler: ^10.2.0
transparent_image: ^2.0.0
<uses-permission android:name="android.permission.WRITE_EXTERNAL_STORAGE" />
<uses-permission android:name="android.permission.READ_EXTERNAL_STORAGE" />
We need to add these permissions in android manifest xml file like shown in the above image. Path is android>app>src>main>Androidmanifest.xml.
android:requestLegacyExternalStorage="true"

We also need to specify the above code line in android manifest xml file as shown in the above image.
compileSdkVersion 33

The compile SDK version should be set to 33 as shown in the above image. Path is android>app>build.gradle.
Step 2: Function To Fetch Media From Gallery
This function will take media from gallery and store it in a list.
 Future<void> getMediaFromGallery() async {
    galleryMedia = [];
    if (await _promptPermissionSetting()) {
      List<Album> albums = await PhotoGallery.listAlbums(
          mediumType: showVideosOnly ? MediumType.video : MediumType.image);
      setState(() {
        albm = albums[0];
      });
    }
    if (albm != null) {
      MediaPage mediaPage = await albm!.listMedia();
      setState(() {
        _media = mediaPage.items;
        for (int i = 0; i < _media!.length; i++) {
          galleryMedia.add({'media': _media![i], 'selected': false});
        }
      });
    }
} Future<bool> _promptPermissionSetting() async {
if (Platform.isIOS &&
await Permission.storage.request().isGranted &&
await Permission.photos.request().isGranted ||
Platform.isAndroid && await Permission.storage.request().isGranted) {
return true;
}
return false;
}Step 3: Calling this Function
We’ve created two Flutter material buttons which will call this function after they got clicked. The whole source code will be provided in the end.
We also have implemented a simple logic which will check if the video button is clicked, then fetch only videos from gallery. And if the image button is clicked, then fetch only images.
We also have called this function in init state which will execute this function when the page loads. As the condition for video is set to true, so videos will be fetched from gallery, be default.
Step 4: Displaying the Fetched Media In App
FadeInImage( fit: BoxFit.cover, placeholder: MemoryImage(kTransparentImage), image: ThumbnailProvider( mediumId: galleryMedia[index]['media'].id, mediumType: videoSelected ? MediumType.video : MediumType.image, highQuality: true, ), )
This code will display the media in app.
So this is how we can easily use Flutter photo gallery package to fetch images and videos from gallery and display it. We can also specify the number of items to display using the item count constructor of Flutter grid view builder i.e. itemCount:10 will show only 10 items in grid.
If you like this post then don’t hold back in sharing it. Also, feel free to ask if you have any queries regarding how to fetch media using Flutter photo gallery.
The complete source code is given in the below block.
Flutter Photo Gallery View Implementation Complete Source Code


import 'dart:io';
import 'package:flutter/material.dart';
import 'package:permission_handler/permission_handler.dart';
import 'package:photo_gallery/photo_gallery.dart';
import 'package:transparent_image/transparent_image.dart';
void main() {
runApp(const MyApp());
}
class MyApp extends StatelessWidget {
const MyApp({Key? key}) : super(key: key);
// This widget is the root of your application.
@override
Widget build(BuildContext context) {
return MaterialApp(debugShowCheckedModeBanner: false, home: HomeScreen());
}
}
class HomeScreen extends StatefulWidget {
@override
State<HomeScreen> createState() => _HomeScreenState();
}
class _HomeScreenState extends State<HomeScreen> {
bool showVideosOnly = true;
bool showImagesOnly = false;
List<dynamic> galleryMedia = [];
List<Medium>? _media;
Album? albm;
@override
void initState() {
super.initState();
getMediaFromGallery();
}
Future<void> getMediaFromGallery() async {
galleryMedia = [];
if (await _promptPermissionSetting()) {
List<Album> albums = await PhotoGallery.listAlbums(
mediumType: showVideosOnly ? MediumType.video : MediumType.image);
setState(() {
albm = albums[0];
});
}
if (albm != null) {
MediaPage mediaPage = await albm!.listMedia();
setState(() {
_media = mediaPage.items;
for (int i = 0; i < _media!.length; i++) {
galleryMedia.add({'media': _media![i], 'selected': false});
}
});
}
}
  Future<bool> _promptPermissionSetting() async {
    if (Platform.isIOS &&
            await Permission.storage.request().isGranted &&
            await Permission.photos.request().isGranted ||
        Platform.isAndroid && await Permission.storage.request().isGranted) {
      return true;
    }
    return false;
  }
@override
Widget build(BuildContext context) {
return Scaffold(
body: SizedBox(
height: double.infinity,
width: double.infinity,
child: SingleChildScrollView(
padding: EdgeInsets.symmetric(horizontal: 20, vertical: 80),
child: Column(
children: [
Text(
'Flutter Gallery View',
style: TextStyle(
color: Colors.blue,
fontSize: 20,
fontWeight: FontWeight.w700),
),
SizedBox(height: 5),
Text(
'Pick images/videos from gallery and show it in a gridview',
textAlign: TextAlign.center,
style: TextStyle(
color: Colors.blue,
fontSize: 13,
),
),
SizedBox(height: 20),
SizedBox(
height: 40,
width: double.infinity,
child: Row(children: [
Expanded(
child: Padding(
padding: EdgeInsets.only(right: 10),
child: MaterialButton(
color: showVideosOnly ? Colors.blue : Colors.white,
elevation: 10,
onPressed: () {
setState(() {
showVideosOnly = true;
showImagesOnly = false;
getMediaFromGallery();
});
},
shape: RoundedRectangleBorder(
borderRadius: BorderRadius.circular(100)),
child: Text(
'Videos',
style: TextStyle(
color: showVideosOnly ? Colors.white : Colors.blue,
fontSize: 14),
),
),
),
),
Expanded(
child: Padding(
padding: EdgeInsets.only(left: 10),
child: MaterialButton(
color: showImagesOnly ? Colors.blue : Colors.white,
elevation: 10,
onPressed: () {
setState(() {
showImagesOnly = true;
showVideosOnly = false;
getMediaFromGallery();
});
},
shape: RoundedRectangleBorder(
borderRadius: BorderRadius.circular(100)),
child: Text(
'Images',
style: TextStyle(
color: showImagesOnly ? Colors.white : Colors.blue,
fontSize: 14),
),
),
),
)
]),
),
gridVideosOrImagesBlock()
],
),
),
));
}
Widget gridVideosOrImagesBlock() {
return galleryMedia.isEmpty
? CircularProgressIndicator(
color: Colors.blue,
)
: GridView.builder(
physics: NeverScrollableScrollPhysics(),
padding: EdgeInsets.only(top: 20),
itemCount: galleryMedia.isEmpty ? 0 : 100,
shrinkWrap: true,
gridDelegate: SliverGridDelegateWithFixedCrossAxisCount(
crossAxisCount: 2, childAspectRatio: 1.3, mainAxisSpacing: 6),
itemBuilder: (context, index) {
return Padding(
padding: EdgeInsets.all(10),
child: Stack(
alignment: Alignment.center,
fit: StackFit.expand,
children: [
ClipRRect(
borderRadius: BorderRadius.circular(10),
child: FadeInImage(
fit: BoxFit.cover,
placeholder: MemoryImage(kTransparentImage),
image: ThumbnailProvider(
mediumId: galleryMedia[index]['media'].id,
mediumType: showVideosOnly
? MediumType.video
: MediumType.image,
highQuality: true,
),
),
),
showVideosOnly
? Icon(
Icons.play_arrow,
color: Colors.grey.shade300,
size: 40,
)
: SizedBox()
],
),
);
});
}
}Conclusion
To conclude this tutorial, hope now you’ve a complete practical understanding of how to easily use Flutter photo gallery package. We’ll be happy to receive your valuable feedback on this post.
We’d also love to see you visit our other tutorials on Flutter app development. Thank you for reading this article.
