In this Flutter post, we will be practically understanding how Flutter SetState works by the use of an easy but proper Flutter example code. Everything about Flutter SetState will be discussed in this post to give you a proper idea on how to use it with ease.
What are we waiting for? Flutter SetState is waiting for us. So let’s jump right into it.
What is Flutter SetState?
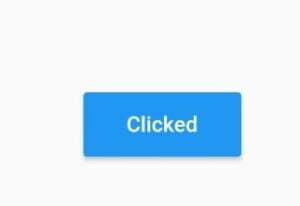
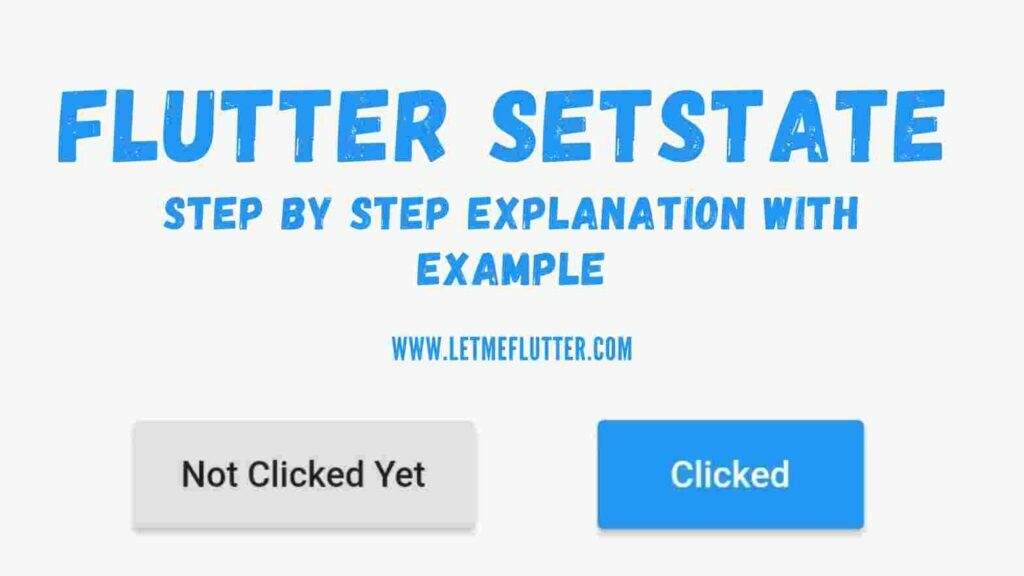
Flutter SetState is used to inform the framework that the object’s internal state has changed and it should be rebuild. For instance, you want to click on a button and when you click it, you want its text to be changed or its color etc. We will use an example in which we will change both the text and the color of button. So let’s start implementing it using proper code.
Implementing Flutter SetState(Example)
To implement Flutter SetState, see the below steps:
Step 1
RaisedButton(
             onPressed: () {},
             color: Colors.grey.shade300,
             textColor: Colors.black87,
             child: Text('Not Clicked Yet'))
Step 2
bool isButtonClicked=false;
Step 3
onPressed: () {
             isButtonClicked = !isButtonClicked;
}Step 4
color: isButtonClicked ? Colors.blue : Colors.grey.shade300 //to change the button color
textColor: isButtonClicked ? Colors.white : Colors.black87//to change the text color
isButtonClicked ? 'Clicked' : 'Not Clicked Yet' //to change the text
You can see that we have used a one line if else statement in which we have specified that if the Boolean is true then give the button a blue background color, if not the give it a grey color, as seen in the above code. Same logic is applied to the text and its color.
You will see that still it is not changing the color or text of the Flutter raised button. Actually it is working but the state is not changing, the reason we are not seeing any changes in our screen. Let’s now use the Flutter SetState.
Step 5
 onPressed: () {
              setState(() {
                   isButtonClicked = !isButtonClicked;
                          });
                        }


Conclusion
To conclude, hope you now have a clear knowledge on how to use Flutter SetState. I would love to see you use it in your Flutter apps and share your experience with us. Thanks for reading.
