ListView Builder In Flutter Apps

list view builder flutter beautiful widget

Let’s talk about the list view builder widget, what it really is, its role, and its usage in Flutter apps. Everything about Flutter listview builder will be discussed using practical code examples. So let’s get right into it.

What is Flutter Listview Builder?

List view as the name represents is a list. It is used when you don’t want to write the code again and again for some specific widget, but still want it to show let’s say 100 times. That’s where the list view kicks in. Let’s see how to use it.

List View Builder

Scaffold(

          body: ListView.builder(

                                )
As we can see here, we have used a scaffold and in its body, we have called the list view class’s builder function. Now we have implemented our list view. Let’s now understand how to give values to its constructor, to see the implementation in our app as well.

Item Builder 

The item builder constructor in list view builds the returning widget for infinite times or for some specific range, it is defined. Let’s return a text widget. If you want to learn about text widget then click here. Let’s implement it in code now:
ListView.builder(

          itemBuilder: (context, index) {

        return Padding(

          padding: EdgeInsets.all(20),

          child: Center(

            child: Text(index.toString())),

        );

      })
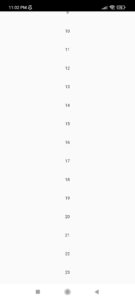
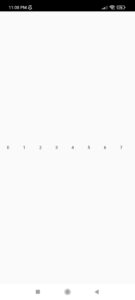
As you can see we have returned a text widget, giving it the value of the index to see what value it has. Also we have given it some padding so the items will be a bit separated from each other. We also have used the center widget so it will be shown in the center or else by default it will be show in the left side of the screen. Let’s see how it looks now:

listviewbuilder67

Scroll Direction

It defines whether the item will be shown horizontally(left to right) or vertically(top to bottom). Let’s see how we can change it:
    scrollDirection: Axis.horizontal
We use the scroll direction constructor which is present within the list view, but passing it the axis class property horizontal, you will be able to see the list in horizontal, and of course, you can scroll it as well. Let’s see it now:

listviewbuilder6

Item Count

The item count constructor is used when we want to specify the number of items returned from the list or the number of overall list items. Let’s see how to do it:

itemCount:5

Let’s see how our list is looking right now:
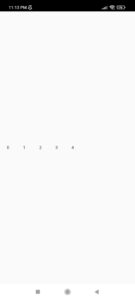
 

listviewbuilder4


As we can see we have 5 items in our list, the index starts from 0 so it’s from 0 to 4, means 5 items as specified.

Let’s Pass Container In List View Builder

ListView.builder(

              itemCount: 20,

              itemBuilder: (context, index) {

                return Padding(

                    padding: EdgeInsets.all(10),

                    child: Container(

                      height: 100,

                      width: 100,

                      alignment: Alignment.center,

                      decoration: BoxDecoration(

                        boxShadow: [

                          BoxShadow(

                              blurRadius: 6,

                              color: Colors.grey,

                              spreadRadius: 2)

                        ],

                        shape: BoxShape.circle,

                        color: Colors.blue,

                      ),

                      child: Container(

                        margin: EdgeInsets.all(20),

                        alignment: Alignment.center,

                        decoration: BoxDecoration(

                          boxShadow: [

                            BoxShadow(

                                blurRadius: 6,

                                color: Colors.black45,

                                spreadRadius: 2,

                                offset: Offset(2, 2))

                          ],

                          shape: BoxShape.circle,

                          color: Colors.blue,

                        ),

                        child: Text(

                          index.toString(),

                          style: TextStyle(

                              fontSize: 20,

                              color: Colors.white,

                              fontWeight: FontWeight.w600),

                        ),

                      ),

                    ));

              })
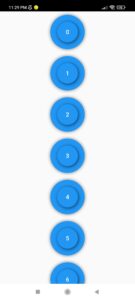
If you want to learn how to customize containers then click here. Let’s see how it looks:

listviewbuilder2

Padding

padding: EdgeInsets.only(top: 50),
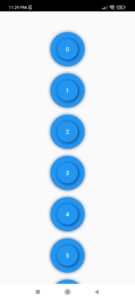
We can also give padding to our list view using the padding constructor of list view builder.

listviewbuilderdsign

Conclusion

Hope you now have a practical understanding of how to easily use Flutter listview builder. Do drop your valuable feedback in the comment section.

We’d also be glad to see you visit our other tutorials on Flutter app development and Python programming. Thank you for reading this one.
Leave a Comment

Your email address will not be published. Required fields are marked *