In this Flutter post, we will practically look into how to use Flutter wrap widget in Flutter apps. The role and usage of Flutter wrap widget will be discussed using a practical Flutter example for better understanding. After reading this post, I am sure you will easily be able to make use of Flutter wrap widget in your own Flutter apps.
So let’s not wait anymore and get right into its implementation phase.
What is Flutter Wrap Widget?
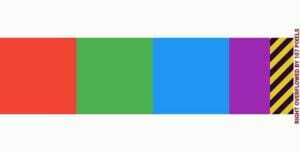
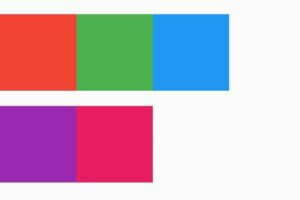
Let’s say we have a list of Flutter containers in our row widget. These containers have some height, width with each container having a different color. You will see that some of the containers will be seen and at the right border of screen you will see an overflow. This means that the screen width is not quite enough to show all the containers.
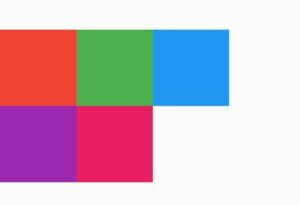
Flutter wrap widget will print the containers in the next line, therefore removing the overflow problem.
We will be practically implementing the same example. First we will see what will happen if we don’t use Flutter wrap widget but still want to see many containers or any other widget in our screen. Then we will practically implement Flutter wrap widget.
Implementing Flutter Wrap Widget (Example)
Let’s first see what happen when we don’t use Flutter wrap widget. See below example.
Not Using Flutter Wrap Widget
Let’s implement a Flutter row widget and give it a list of Flutter container widgets. See below code:
Row(
      children: [
        Container(height: 100, width: 100, color: Colors.red),
        Container(height: 100, width: 100, color: Colors.green),
        Container(height: 100, width: 100, color: Colors.blue),
        Container(height: 100, width: 100, color: Colors.purple),
        Container(height: 100, width: 100, color: Colors.pink),
      ],
    )
Using Flutter Wrap Widget
We will replace the row widget with a wrap widget. See below code:
Wrap(
        children: [
      // use same list of containers that are mentioned above
 ])
Flutter Wrap Widget Constructors
Let’s now see how we can customize the Flutter wrap widget.
Children Constructor
Wrap( children: [] )
Alignment Constructor
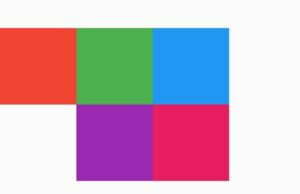
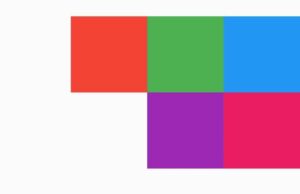
It is used to align the children of wrap widget. By default, it is set to left aligned so we don’t need to implement that. See below alignments.
Wrap Alignment End
alignment: WrapAlignment.end
SizedBox(
        width: double.infinity,
        child: Wrap(
          alignment: WrapAlignment.end,children:[]))
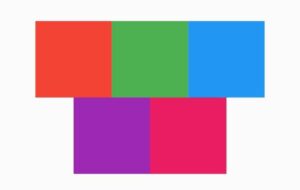
Wrap Alignment Center
alignment: WrapAlignment.center
Wrap Alignment Space Around
alignment: WrapAlignment.spaceAround

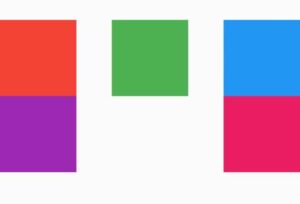
Wrap Alignment Space Between
alignment: WrapAlignment.spaceBetween
Wrap Alignment Space Evenly
alignment: WrapAlignment.spaceEvenly

Spacing Constructor
spacing: 20
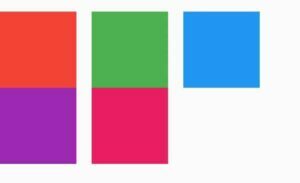
It is used to given horizontal spacing between the children of wrap widget and can be seen in the above image.
Run Spacing Constructor
runSpacing: 20

Conclusion
As a conclusion of this Flutter post, hope you now completely understand how to use and customize Flutter wrap widget. I would love to have your feedback on this post. Thanks for reading this Flutter post.
