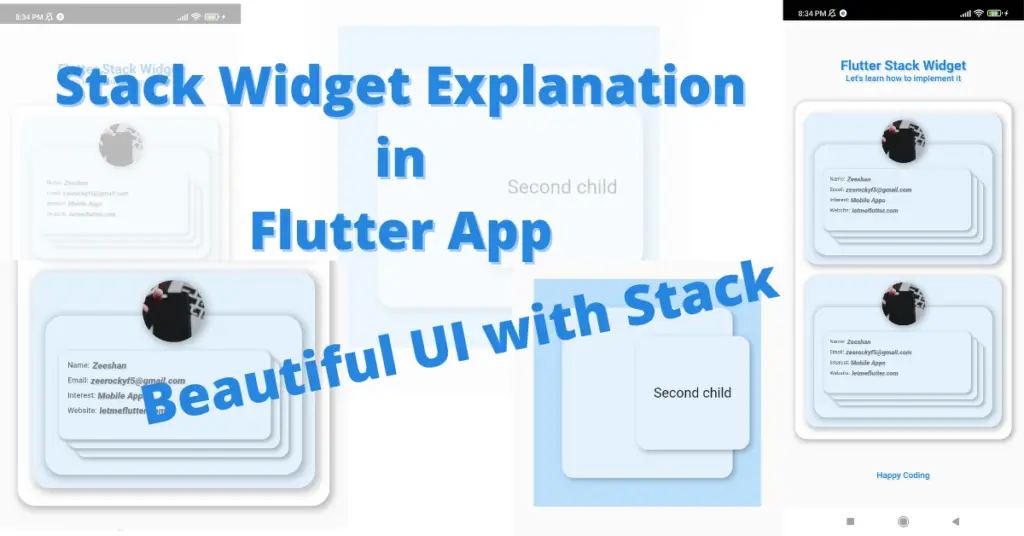
In this tutorial, we’ll learn how to use the Flutter stack widget. Everything about the stack widget will be discussed in detail with the help of practical Flutter code examples for better understanding.
What is Flutter Stack Widget?
Stack widget in a flutter app works by putting its children on top of each other, e.g. if you take a bunch of papers and put them on top of each other. That’s a perfect example of how the stack class in flutter works. Let’s now understand it with code so we can understand how to implement the stack widget in the flutter app.
Stack Widget Class
Stack(
  children:[]
)
We have used the stack class by implementing the stack functions, as you can see it has a children constructor which takes a list of widgets.
Two Types Of Stack Children
- Positioned
- Non-positioned
Positioned widget class is used to position its child widget anywhere in the stack boundary, while the non-positioned can also be set in some specific position using the align widget or padding, margin, etc.
Stack Alignment
alignment:Alignment.center
Stack Fit
fit:StackFit.expand
Simple Stack Example
Container(
          height: 200,
          width: 200,
          color: Colors.blue.shade100,
          child: Stack(
            children: [
              Container(
                height: 150,
                width: 150,
                decoration: BoxDecoration(
                    color: Colors.blue.shade50,
                    borderRadius: BorderRadius.circular(10),
                    boxShadow: [
                      BoxShadow(
                          color: Colors.black26,
                          blurRadius: 3,
                          offset: Offset(2, 2))
                    ]),
              )
            ],
          ),
          )
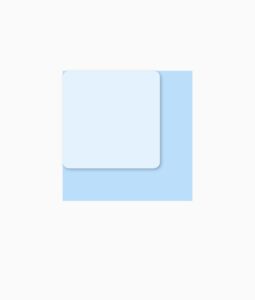
As you can see here we have specified a container then in its child we have used our flutter stack widget class and inside the flutter stack children, we have specified a container. By default, the position is set to top left. Now let’s make it center.
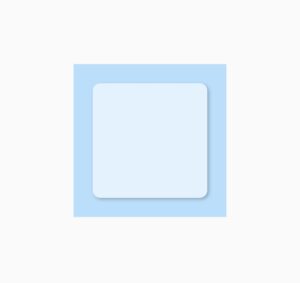
Stack Alignment Center
alignment: Alignment.center
Multiple Children Stack
 Container(

                    height: 100,

                    width: 100,

                    alignment: Alignment.center,

                    decoration: BoxDecoration(

                        color: Colors.blue.shade50,

                        borderRadius: BorderRadius.circular(10),

                        boxShadow: [

                          BoxShadow(

                              color: Colors.black26,

                              blurRadius: 3,

                              offset: Offset(2, 2)),

                        ]),

                    child: Text('Second child'))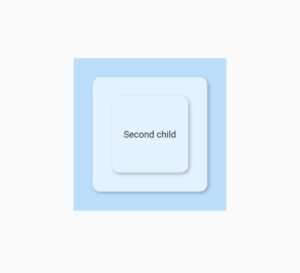
Flutter Stack Positioned
Let’s by using the positioned widget, change the position of the second container.
 Positioned(
                  right: 10,
                  child: Container(
                      height: 100,
                      width: 100,
                      alignment: Alignment.center,
                      decoration: BoxDecoration(
                          color: Colors.blue.shade50,
                          borderRadius: BorderRadius.circular(10),
                          boxShadow: [
                            BoxShadow(
                                color: Colors.black26,
                                blurRadius: 3,
                                offset: Offset(2, 2)),
                          ]),
                      child: Text('Second child')),
                )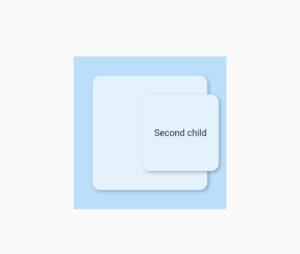
As you can see that by wrapping the flutter stack second child with a positioned, and by using the right constructor of the positioned class. The second container looks right aligned. You can also wrap the first one with the position or you can use the padding. Practice it to have a full understanding of how the stack widget works.
Tip
Try to use a container with some specific height and width, just to have a detailed boundary of the stack you are using. Like in the above example.
Example
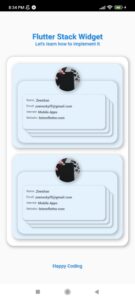
We have used a column widget and have put the text on top and at the bottom of the screen. We have used a list view builder widget and have returned a container.
Conclusion
So this is how we can make use of the Flutter stack widget. Do try it with other examples as well and make more creative designs with it. Also, don’t forget to leave your feedback in the comment section.
We’d also be glad to see you visit our other tutorials on Flutter app development and Python programming. Thank you for reading this one.
