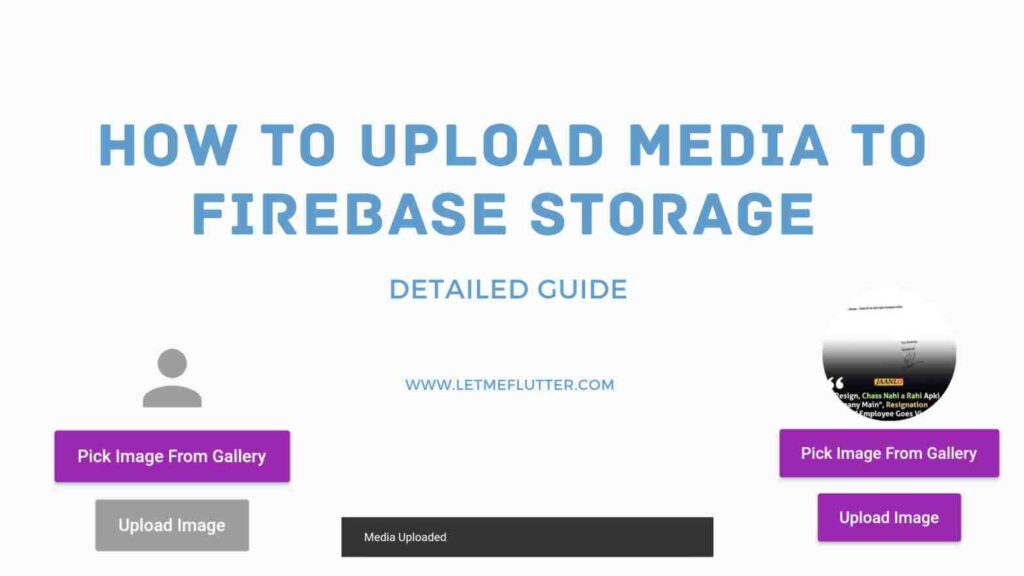
In this tutorial, we’ll practically learn how to properly upload media to Firebase storage. Also, we’ll store its reference in our Flutter Firestore so we can easily fetch it whenever we want.
The complete source code will be provided on the GitHub. The link to that repository will be provided later in this article, so stay tuned.
What is Firebase Storage?
As the name suggests, it’s used to store data. We can upload data to it directly or from our Flutter app. In this tutorial, we’ll learn how to upload data to Firebase storage from our Flutter app.
Steps to Upload Images/Files To Firebase Storage
Follow the below steps.
Step 1: Setup Firebase
We’ve written a well-detailed article on how to set up Firebase and connect it to a Flutter project. Below is the link to that article.
Click here to perform the Firebase setup process.
Only follow the first step which is titled ‘Step 1: Setup Firebase’. Then visit this article again to continue the process of uploading files to Firebase storage.
Step 2: Import Packages
We need 2 packages. See below:
- Firebase Storage Package – It’ll be used to store images, videos, or file data.
2. Cloud Firestore Package – Here, we’ll use it to store the reference of the uploaded data, so we can fetch, and download the specified images, videos, or files using this reference.
Import these 2 packages in your pubspec.yaml dependencies section.
firebase_storage: ^11.2.2
cloud_firestore: ^4.8.0Step 3: Initialize Firebase
import 'package:firebase_core/firebase_core.dart';

Future main() async {
  WidgetsFlutterBinding.ensureInitialized();
  await Firebase.initializeApp();
  runApp(const MyApp());
}Step 4: Pick Image using Image Picker and Store it
We’ll pick an image from the gallery and store it. Later this image data will be uploaded to Firebase storage. We’ve written a complete tutorial on how to pick an image in the Flutter app. Click here to learn it in detail.
image_picker: ^0.7.5+1
Import this package with that specific version in your puspec.yaml file. You can use any version but according to our experience, some versions are giving errors while building apk when using image picker.
  ImagePicker _imagePicker = ImagePicker();
  File? imageFile;

  getImageFromGallery() async {
    var imageSource = await _imagePicker.getImage(source: ImageSource.gallery);
    setState(() {
      imageFile = File(imageSource!.path);
    });
  }
This function will take the image from the gallery. We can use the camera as well. We just need to change the image source to the camera.
Step 5: Create UI
We’ve created a simple UI that has an icon widget that’ll be displayed when there is no image picked. Also, we have two material buttons. The first one will trigger the method ‘getImageFromGallery()’. While the other one will trigger the function that will upload and store images in storage and their references in Firestore.


Column(
          mainAxisAlignment: MainAxisAlignment.center,
          children: [
            ClipRRect(
                borderRadius: BorderRadius.circular(100),
                child: imageFile == null
                    ? Icon(
                        Icons.person,
                        size: 61,
                        color: Colors.grey,
                      )
                    : Image.file(
                        imageFile!,
                        height: 100,
                        width: 100,
                        fit: BoxFit.cover,
                      )),
            MaterialButton(
              onPressed: getImageFromGallery,
              color: Colors.purple,
              textColor: Colors.white,
              child: Text('Pick Image From Gallery'),
            ),
            MaterialButton(
              onPressed: imageFile == null
                  ? null
                  : () {
                      FirestoreAndStorage()
                          .storeMediaInFirebaseStorage(context, imageFile);
                    },
              color: Colors.purple,
              disabledColor: Colors.grey,
              disabledTextColor: Colors.grey,
              textColor: Colors.white,
              child: Text('Upload Image'),
            ),
          ],
        ),
Step 6: Setup Firebase Storage
See below steps:


Currently, we can specify it to use test mode. In the last image, we can see that we can directly upload media to it as well. This is our Firebase storage which we’ll be using to store media.
Step 7: Setup Firestore
We’ve created a well-detailed article on how to add, delete, and update data from Cloud Firestore. In that article, we’ve specified how to set up Firestore as well. We’d need that here so click here and see the ‘Step 3’.
Complete Firestore Setup first then continue this tutorial.

Specify this code to allow unauthenticated users to write or read data from Firestore. We are just testing it so never use this specified code in production mode.
Step 8: Upload the Image to Firebase Storage and Store the Reference in Cloud Firestore
  FirebaseStorage storage = FirebaseStorage.instance;
  FirebaseFirestore firestore = FirebaseFirestore.instance;

  storeMediaInFirebaseStorage(context, imageFile) async {
    try {
// this block will upload the media to storage of firebase
      String fileName = DateTime.now().millisecondsSinceEpoch.toString();
      Reference reference = storage.ref().child('images/$fileName');
      UploadTask uploadTask = reference.putFile(imageFile);
      TaskSnapshot storageTaskSnapshot = await uploadTask.whenComplete(() {});
      String downloadUrl = await storageTaskSnapshot.ref.getDownloadURL();
      String imageUrl = downloadUrl;

      this will upload the data to firestore
      firestore.collection('media').doc().set({
        'url': imageUrl,
      });

      // this will show a Flutter snackbar after the tasks are executed
      ScaffoldMessenger.of(context)
          .showSnackBar(SnackBar(content: Text('Media Uploaded')));

    } catch (e) {
      print(e.toString());
    }
  }
Step 9: Testing
Let’s now test our code:


We’ve created 2 material buttons. The first one will take the image from the gallery. The other one will upload it to the Firebase storage and store its URL in the cloud Firestore.
GitHub Repository (Source code of this Project)
Click here to get the full source code of this tutorial. In our next tutorials, we’ll implement the downloading of media from Firebase storage as well so it means that code will soon get updated.
Conclusion
In conclusion, this is how we can easily upload images or other media to Firebase storage and store its reference in Firestore to fetch them easily in Flutter app. In our next tutorials, we’ll learn how to display and download media from Firebase storage as well, so stay tuned. Do feel free to leave your valuable feedback on this post.
We’d also be super delighted to see you visit our other articles on Flutter app development. Thank you so much for reading this one.
